Showing posts with label home decor. Show all posts

Sunday, November 25, 2012

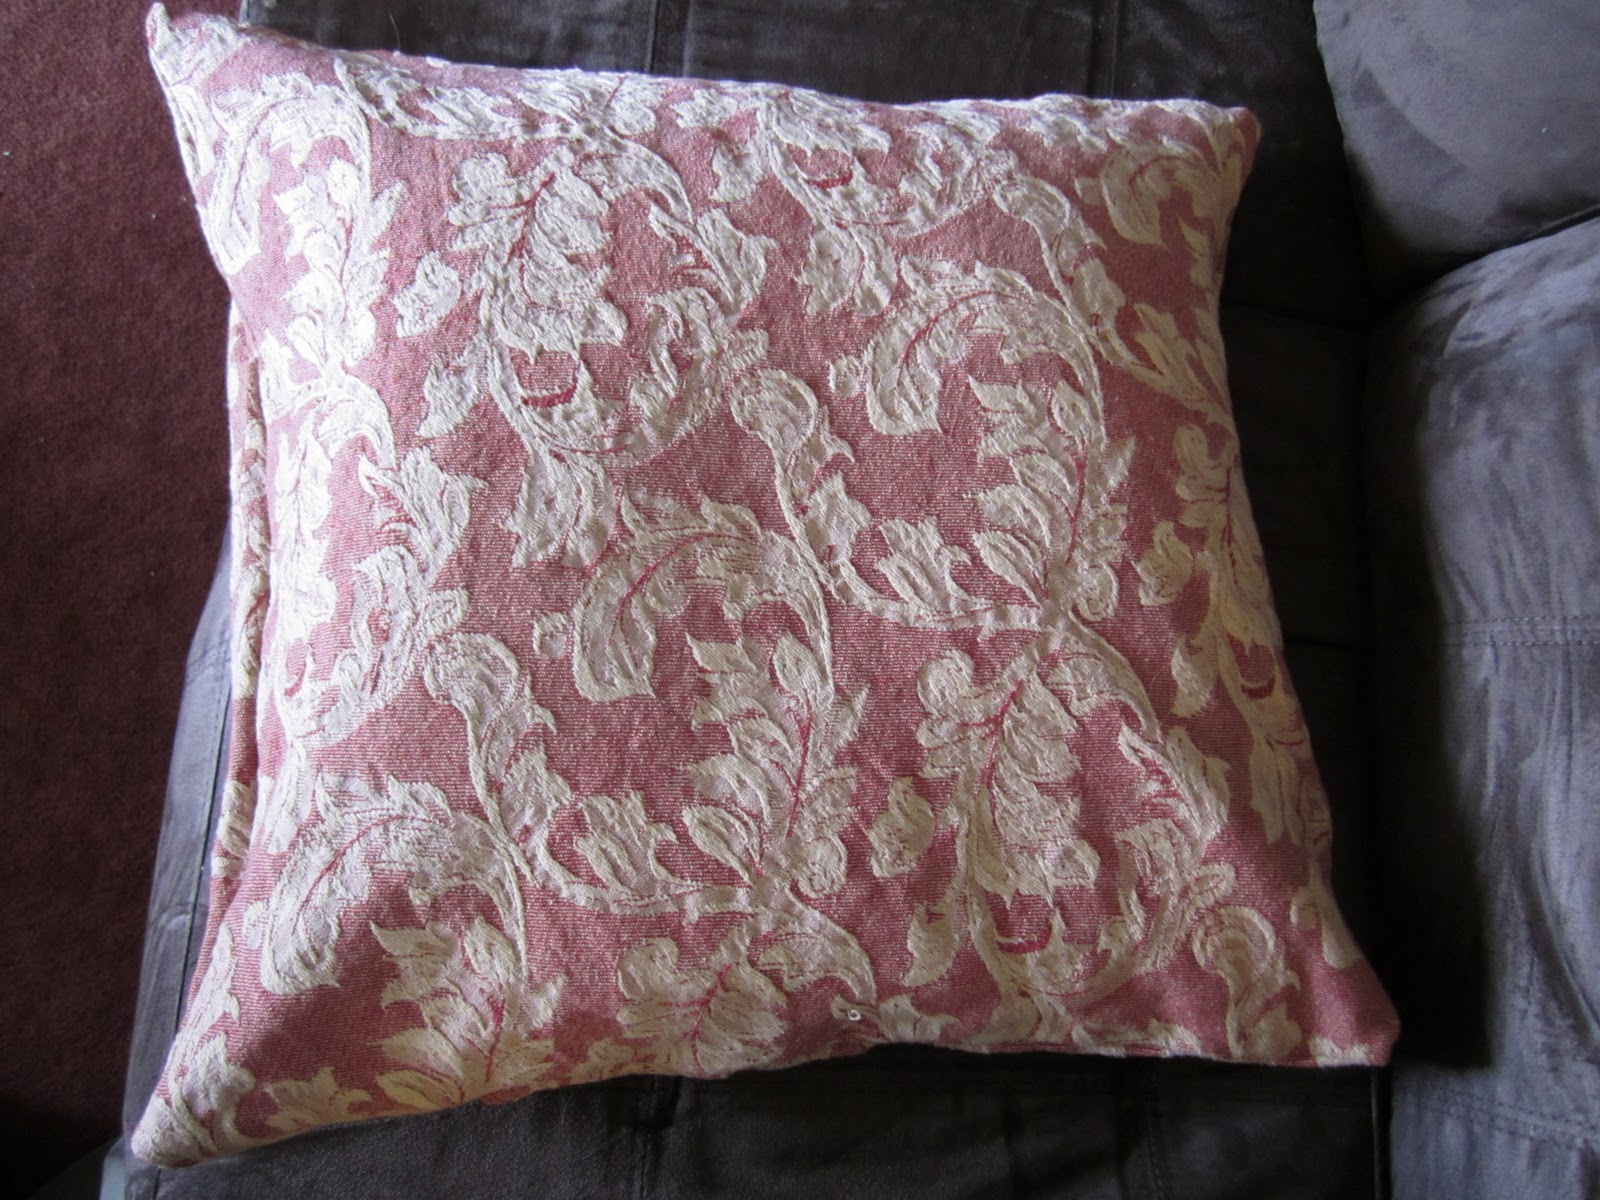
Finished project: another felt pillow cover for Christmas

I had already completed two felt pillow covers earlier this year except for this one. It took a little while longer as I had to do the little holes in the centre by hand.


I made this the same way that I made the other two covers. Festive, eh?


Tuesday, December 20, 2011

10 frugal ways to decorate for the holidays

The holidays are approaching and it's time that we deck the halls to celebrate. Sometimes that stuff is expensive or the decorating ideas that we have cannot be realized with the budget. But, no fear! Here are 10 ideas of how to decorate on a tiny budget.
  1. Pine cones: take a trip to the local park or an area that has lots of pine trees with a few garbage bags or boxes and collect the nice pine cones. Really look them over for bugs, mold or any imperfections before bagging them. Bring them home and wash them in a sink of hot water (when I did this, they closed up but reopened as they dried a day later). Then, use them in leftover planters, vases or jars tied with ribbon.
  2. Cookies: make a few batches of sugar cookies and decorate them with icing done in your Christmas colors. Before baking them though, put a hole in the top with a wooden skewer. Do designs like snowmen, reindeer, snowflakes, ornaments, or words. Once the icing is dry, string them up with leftover yarn, ribbon or twine and decorate the tree with them. Or, just display them on nice cake stands on the table.
  3. Food: create nice displays around the house with clementines, apples, or other seasonal fruit and vegetables. Use vases, jars or cake plates and place them carefully. If you really want to get into this, cover the items with powdered sugar or salt to create the glittery effect.
  4. Stockings: make this year's stockings out of old sweaters, t-shirts or button-up shirts. If they aren't the right color, you can buy fabric dye and follow the package instructions to dye the fabric. Sew up with a sewing machine and decorate with ribbon or felt accents.
  5. Centrepieces: take some mixing bowls and fill them with Christmas ball ornaments, pine cones, greenery or other items. Or, pack them with a mix of Christmas ball ornaments, apples and other items. Place in the centre of the table. Also, add bowls or planters of ornaments to end tables, magazine tables and other places around the house.
  6. Wrappings: try some of the tips in my post about green wrappings along with embellishments like yarn pompoms, Christmas ribbon made from old shirts and other festive touches.
  7. Tree: get an artificial tree with lights so that you buy it once and use it for at least 10-15 years. Decorate with ornaments, cookies, gingerbread men, pine cones or (if you want to be really traditional) strings of popcorn or cranberries. You could also decorate with paper snowflakes made out of white paper, dolls, clocks, etc. The options are endless, but start with your favorite colors and a theme.
  8. Table: use a clean white tablecloth and use your best dishes but have little touches here and there like candles, decorated paper tags for guests, napkin rings, etc. The food should speak for itself, you don't have to have the table fully decked to the nines.
  9. Rooms: add a little touch of the holidays to every room like a special cup towel in the kitchen, or towels in the bathroom. As long as everything is clean and organized, it looks fabulous and doesn't cost hardly anything. You could even do this with well-placed Christmas cards that you received.
  10. Outside: depending on your location, try LED lights and topiaries. Or, you could make a wreath out of leftover strips of fabric in your color theme wrapped around a Styrofoam wreath form. You can also put out bowls of ornaments by the entrance.

Sunday, December 4, 2011

How to reuse a planter

Has your plant died recently? Or, perhaps you have planters lying around the house or garage just waiting for spring. Well, here are some ideas on what to do with those planters during the off-season -- or any time of the year.  

1. Use it to hold vegetables in the fridge: despite what your planter is made out of (plastic, terracota, ceramic, porcelain, etc.) it can go in the fridge. Clean it, and use it to store items like apples, oranges, onions, potatoes, peppers and such. It actually helps you to organize your fridge.

   
2. Use it to store cat or dog toys: every night, pick up the toys off of the floor and put them in the planter. Put the planter up high to store the toys and when you want them again, simply take it down and start tossing them around.

   
3. Use it to display ornaments for Christmas: fill a cleaned planter with ornaments, pinecones or leftover garland and wrap a long ribbon around it, tied with a bow. Display as a table centrepiece or on a night table. 


4. Use it as a transfer vessel: if you store potatoes, onions, pears, apples or anything else in another room, you need to put them into something to bring them to the kitchen. Clean a planter and use it as the transfer vessel. 

5. Use it in your home organization: if you have a shed or a storage room, use it to store smaller items like tennis balls, paint brushes, tools and/or nails, cleaning cloths, etc. This is a bonus if your planter is meant to mount on the wall.  

6. Use it to hold crafty or office items: this could be sewing thread, yarn, knitting needles, small bolts of fabric, embroidery floss, etc. It would be great for holding office supplies or scrapbooking supplies as well. Display it on your desk so that you items are within reach.  


7. Use it to hold scraps of yarn: put the leftover bits of yarn in here for whenever you need a small amount to hold stitches or other uses.  


8. Use it to hold small sports equipment in the summer: when you take the kids out to the park, use the planter to hold the baseballs, tennis balls, badminton birdies or other small items so that you don't loose them.


9. Use it to hold fabric handkerchiefs: once you have a collection of fabric handkerchiefs you need to put them somewhere. Decorate the planter with a ribbon, clean the inside and store them all rolled up in here. Take one out whenever you need one.


10. Use it to hold your keys or electronics by the door: everyday when you get home, put your keys, iPod, cell phone or other daily items here so that you always know where they are. Put the planter on a stand by the door and make a habit of always putting the items here. If you have a key ring, it's still perfect for the electronics. It's also great for holding gloves and scarves in the winter time.

    Monday, November 21, 2011

    Website discovery: Essortment, Ehow and WikiHow

    I have just discovered the websites Essortment, Ehow and WikiHow and I have to share my favorite links of the moment. I love these three websites because the articles are written by people who have experience in how to do something thus they post it for all of the rest of us. I love knowledge-based articles!

    These are my current favorite links on Essortment:
    1. 25 Places to Meet New People
    2. How to Make Your Own Facial Scrub or Mask
    3. Uses for Old Coffee Grounds
    4. The History of Root Beer
    5. Do it Yourself: Fixing Scratches in Wood Furniture and Trim
    6. Make Your Own Scented Body Oil
    7. Making Homemade Milk Soap
    8. How to Remove Sticker and Tape Goo
    9. Burning Patterns into Wood
    10. Laptop vs. Desktop
    These are my current favorite links on Ehow:
    1. How to Make a Brown Sugar Lemon Body Scrub
    2. Sore Throat Pain Remedies
    3. Homemade Bath Salts
    4. Homemade Lip Balm - made from coconut oil!
    5. Make Curls Overnight Using Rags
    6. How to Live Thrifty
    7. 20 Holiday Trees Gone Wild
    8. Category: Sewing and Upholstry
    9. Techniques for Stenciling Furniture
    10. How to set Food Portion Sizes for Young Children
    These are my current favorite links on WikiHow:
    1. How to Stencil Fabric
    2. How to Make a Glowstick
    3. How to Make a Candle with Essential Oils - bonus! makes body oil
    4. How to do Pranks with Garden Gnomes
    5. How to Set up a Sewing Room
    6. How to Make a Crop Circle
    7. How to Go Green at Work
    8. How to Avoid Workplace Flu
    9. How to Stop Procrastinating (and, even better, the Category)
    10. How to Get Rid of Junk Mail

    Monday, November 7, 2011

    Pillow covers

    This is a great project for decorating a room in the house. I used leftover pieces of fabric from various projects to make these covers and I can always wash them or change them whenever I feel like it.


    These are custom pillow covers as they will depend on the size of the pillows that you have laying around. For this project, I used one round tablecloth (about 1.5 yards of cotton jacquard fabric), matching thread for sewing, scissors, measuring tape and a dressmakers pen. Of course, pins and a seam ripper are used when sewing. Velcro is also useful but not necessary.

    Cutting and Measuring

    So, I started by measuring the pillow with the measuring tape to see where the seams ended. This pillow measured 16 by 16 inches so I made a measurement on the wrong side of the fabric for one square that measured 17 by 17 inches (front piece). I marked it with a dressmakers pen and cut it out.

    Next, I measured two more pieces, one for 17 inches wide by 8 inches (back piece 1) and another 17 inches wide by 12 inches (back piece 2). These will become the back of the pillow that overlaps.


    Sewing

    Now it's time to do the sewing. All of this is done on the wrong side. For the two back pieces, I took one of the edges and folded the seam down by 0.5 cm, then another 0.5 cm to cover the raw edges. I pinned the seam and sewed it down. I then did top stitching on the double seam. I did this on the second piece as well.

     
    Now, I took back piece 1 (which is the smaller piece) and sewed it to the front of the pillow with the two right sides facing each other. Next I pinned back piece 2 to the front (again with the two right sides facing each other) and sewed it to the front piece. It overlapped back piece 2 like so:


    Last, I sewed the entire edge of the pillow, now with both back pieces sewn to the front piece, with a zigzag stitch to keep it from fraying. I turned this pillow cover inside out and put a pillow inside. Done!

    Here is another pillow cover that I made from leftover fabric from my canvas fabric tiles:


    Estimated time for this project: 1 hour. It took about 20 minutes to cut this out then another 40 (or so) to do all of the sewing.

    Notes:

    • For the next ones that I make, I think that I will add some velcro to the two back pieces to seal it shut. 
    • These pillow covers bag over a pillow that is smaller than the cover. I find it unsightly so I try to make sure that the pillow fits the cover. 
    • A machine-washable fabric makes these covers delightful if you spill wine all over them. 

    Ideas:
    • I have plans to have pillow covers for the seasons and I can rotate them at will. 
    • I plan on making some pillow covers with stencils on them like my burlap garland and Christmas tree skirt.

    Wednesday, November 2, 2011

    Fabric Tiles

    What a great way to pull a room together: fabric-covered tiles. I had this idea awhile back as I had some canvas frames that I wanted to paint. I bought 4 large canvas frames from Omar de Serres for $20. Instead of painting them, I covered them in fabric like so:


    This is a fabulous idea because now I can change the decor in my rooms by changing the fabric on the frames instead of painting the walls, changing the drapes, etc.

    To do this at home, you will need a canvas frame, 1 yard of home decor fabric, a staple gun with heavy-duty staples, a hammer and small hooks to hang this on the wall.

    This project is really simple. Lay the fabric out on a table with the printed side face down. Lay the canvas face down on top of the fabric and cut about 2 inches extra on all edges then cut the fabric. Pull the fabric taught in the center of the top of the frame, check to see how the fabric looks by flipping the canvas over, then staple the center. Do the same with the bottom then the sides. All four sides are now stapled.


    Next, pull the fabric that is closer to the corners and staple that down. Do the corners by folding the edge in a 45-degree angle and stapling the fabric down. This is the result!


    Now, install the hooks for hanging this artwork on the wall. Most are pretty simple, this one only required for us to hammer it into the back of the frame with a hammer.


    Last, install the hooks on the wall to hang this up, match the hooks on the canvas to the ones on the wall and hang.


    Estimated time for this project: 1 hour. It really didn't take long but my husband and I did this together as it was easier that way.

    Idea:
    • Once fabric is stapled to the canvas, you either have to remove the staples to recover it or recover it with the original fabric still on the canvas. I had an idea of making a cover for the recovered canvas with elasticized corners and a white lining to hide anything underneath. I will test this theory and post the results.

    Sunday, October 30, 2011

    10 things to do with crayons

    After perusing Etsy, one of my favorite websites, and the internet I found tons of cool things to do with leftover or new crayons. I found this very interesting as I know many people who have jars of leftover crayons that just sit around. Here is some inspiration of what to do with those crayons (and, a post that I intend to tuck away for when I have children of my own).
    1. Upcycle them: melt them all together in moulds so that you get rainbow crayons like this. It will definitely use up the crayon stash and lead to really cool variegated colored masterpieces.
    2. Crayon art: on Etsy, I found melted crayon art in blue/green, rainbow, neon, and more. I really like this one.
    3. Crayon wreath: what a wonderful Christmas idea for kids! Check this one out!
    4. Reform them: there are so many great ideas. All you need is the molds and then you can do it yourself (here is a post on homemade by Jill that shows you how). Or, go on Etsy to find some in the shapes of robots, race cars, lego pieces, teapots, fortune cookies, cupcakes and so much more. 
    5. Crayon clock: here is one from Etsy although you can probably figure out how to make it.
    6. Framed crayon letters: you can glue crayons together and form them in the shape of a letter like this one then frame it.
    7. Make a crayon roll: you can make a crayon roll so that the kids can take their crayons with them without them going everywhere.
    8. Crayon party favors: remold crayons according to the theme of the party and give them to little guests in bags as party favors.
    9. Cookie crayons: this crafter made crayons that look like Oreo cookies! What a great idea!
    10. Crayon candles: if you can reform them into new crayons, you can also form them into candles with a wick. Here is a question on Yahoo! that explains this.

    Thursday, October 13, 2011

    10 cheap, homemade present ideas for kids

    I like making my gifts because I think that they mean more to the recipient. Of course, gift cards and toys are always acceptable and I am not saying that everything has to be homemade, but these are the gifts that they will most likely remember and keep.
    1. Scrapbooks: I am making this for my nephews this year and I hope that they will enjoy it for years to come. I also plan to do this with my kids: each one of them can get a scrapbook detailing the past year for Xmas so that when they leave the nest they have these gifts. If you don't have time to make a scrapbook, a photo album always works too.
    2. Re-molded crayons and coloring books: what a great way to use up old crayons! The blog notes that this works best with Crayola or another good name brand of crayons and perhaps not with cheaper Dollarama crayons.  
    3. T-shirt tote bags made from their favorite t-shirt which was stained, too small or wore to rags. This way they can still have happy memories of that shirt for years to come, even if it doesn't fit.
    4. Clothes: whether bought or homemade, they are always welcome, especially if their favorite super hero or cartoon character is featured. You can always take a plain t-shirt and buy some fabric with their favorite super hero or celebrity on it. Cut out an image from the fabric and sew it onto the front of the plain t-shirt for a custom shirt that they will love. This is even better if you make a pair of pajama pants to match.
    5. Room sign: make a sign for the door into their room. I used to do this in camp on a piece of wood that we painted with our names and splattered our favorite shades of paint all over it. I still have it and I remember thinking when I was a kid that it was the coolest thing ever that I could display on my door.
    6. Knitted or crocheted blanket: you can make kids a cozy blanket out of their favorite colors. I made one of my nephew and I made it big enough for him to use until he's in his teens. I did a subtle ribbing pattern on it.
    7. Christmas ornaments: make one every year since your child was born with the date on it so that when they grow up and leave the house, they already have a small collection of ornaments for their own tree. This could be as simple as wooden snowflakes that you have painted white and wrote the name and date with a gold pen on the back. You could use that same gold pen to outline snowflake details on the front too.
    8. Room decorating: all kids like to decorate their room. What about if your Christmas gift to them was a redecoration of their room? That means paint, wallpaper (maybe) and perhaps a few matching items for their room. You could wallpaper the back of the door or the back space of the bookshelves for dramatic effect.
    9. Personal plates: do up their own place setting with a cup, mug, plate and silverware. You can buy these now in craft stores and paint them yourself then fire then in the oven or glaze them. Do a nice design on them so that they look forward to eating everything on their plate to see that design (we wish!).
    10. A candy or cookie bag: make their favorite cookies or homemade candies, bag them up and put them in their stocking for Christmas morning. I can remember fudge, truffles and snickerdoodle cookies being my favorite and we only ate them at Christmas.