I had already completed two felt pillow covers earlier this year except for this one. It took a little while longer as I had to do the little holes in the centre by hand.
I made this the same way that I made the other two covers. Festive, eh?
Showing posts with label finished project. Show all posts
Sunday, November 25, 2012
Monday, November 19, 2012
Finished project: Staghorn cabled scarves
After a failed scarf that I made for my hubby, I looked around for a more masculine scarf pattern that he would wear. Then, I found the Staghorn Cable scarf in the book Son of Stitch and Bitch by Debbie Stoller. I was quite intimidated by the cable needle but after about 4 repeats of the pattern I had this memorized. So much so, that I did two scarves back to back on the bus without even looking up.
Here is scarf #1 which I made for my hubby:
Here is scarf # 2 which is actually for sale (let me know if you want to buy it). I plan on selling it at a craft show this year or giving it away for Christmas.
Here is scarf #1 which I made for my hubby:
Here is scarf # 2 which is actually for sale (let me know if you want to buy it). I plan on selling it at a craft show this year or giving it away for Christmas.
Monday, June 25, 2012
Finished project: La scapigliata
A while ago, I posted my in-progress pictures of la Scapigliata. Now I can finally say that after four years of starting and stopping this project, she's finally finished!! I just have to mount and frame her now and put her on the wall.
How did I do it? Obsessive cross stitching. I seriously lived and breathed this project for a whole month. I said that I wanted to finish her in June so I did it. Something just clicked in my head saying that it was time to finish her.
This project only took me four years but she's finally done. If I had spent more time on this instead of constantly doing a section and putting it aside she would have been done in six months.
***Update 04/08/2012***
Sorry, I forgot to mention that this is not a pattern that I created nor do I claim ownership of it. The pattern was published in Cross Stitch Collection magazine, issue 160 (August 2008), pages 32-35. It was designed by Maria Diaz.
How did I do it? Obsessive cross stitching. I seriously lived and breathed this project for a whole month. I said that I wanted to finish her in June so I did it. Something just clicked in my head saying that it was time to finish her.
(detail of her flowing hair)
(detail of her hairline)
(detail of her face)
This project only took me four years but she's finally done. If I had spent more time on this instead of constantly doing a section and putting it aside she would have been done in six months.
***Update 04/08/2012***
Sorry, I forgot to mention that this is not a pattern that I created nor do I claim ownership of it. The pattern was published in Cross Stitch Collection magazine, issue 160 (August 2008), pages 32-35. It was designed by Maria Diaz.
Saturday, June 23, 2012
Finished project: Knitted baby blanket
After 6 months, I finally finished by knitted green baby blanket.
It is a simple pattern of a stockinette blanket with a garter stitch border. I used Bernat baby sport-weight yarn in Fern on a 32-inch US6 circular needle. It is nice and soft for an acrylic and I really hope that it will hold up. I read some reviews about this yarn on Ravelry and was quite disappointed. I have hopes that the yarn will stand the test of time though!
(The vibrant green didn't show up on camera no matter what I did!)
It measures about 28 inches by 36 inches.
It is a simple pattern of a stockinette blanket with a garter stitch border. I used Bernat baby sport-weight yarn in Fern on a 32-inch US6 circular needle. It is nice and soft for an acrylic and I really hope that it will hold up. I read some reviews about this yarn on Ravelry and was quite disappointed. I have hopes that the yarn will stand the test of time though!
Here is the blanket when I started it 6 months ago:
And a progress shot after about 10 inches:
Sunday, June 3, 2012
Finished project: Egypt scrapbook
When I was 16 I went on the trip of a lifetime to Egypt with some other students. We had a fabulous time visiting the Pyramids, the Karnak temple, the Valley of the Kings, and other sites. We spent time in Cairo, Luxor, Edfu, Aswan and Alexandria. I can honestly say that it was the most fun that I have ever had on a trip -- to date!
After that trip, I resolved to make a scrapbook of my memories. Over the years I did a page here and there but it wasn't until this year that I realized that I had to finish it. It took me 12 years but now I can proudly say that the scrapbook is finished! The last thing that I did was a fabric scrapbook cover.
Here are some shots of it:
After that trip, I resolved to make a scrapbook of my memories. Over the years I did a page here and there but it wasn't until this year that I realized that I had to finish it. It took me 12 years but now I can proudly say that the scrapbook is finished! The last thing that I did was a fabric scrapbook cover.
Here are some shots of it:
My title page to the Egypt Trip
Karnak Temple
The Valley of the Kings
The Egyptian Museum
Scrapbook cover
To finish my Egypt scrapbook, I made a fabric scrapbook cover for it. I really like this one better than the one that I made out of T-shirts!
For this project, I used approx. 1/2 m canvas-weight fabric, 1 spool matching heavy-duty thread, 1 button, 18 inches of matching yarn, a sewing machine, a hand-sewing needle, a measuring tape, a dressmarkers pen, pins and scissors.
First, I measured my scrapbook binder. This is a simple 1-inch binder with plastic page protectors.
I used those measurements on the wrong side of my fabric and marked them three times from the top to the bottom with a dressmakers pen. I allowed about 0.5 cm on both sides for seam allowance. I cut out a piece that was 22 inches wide by 12.5 inches tall.
I marked this on the fabric and cut out a piece that was 9 inches wide by 12.5 inches tall for the inside.
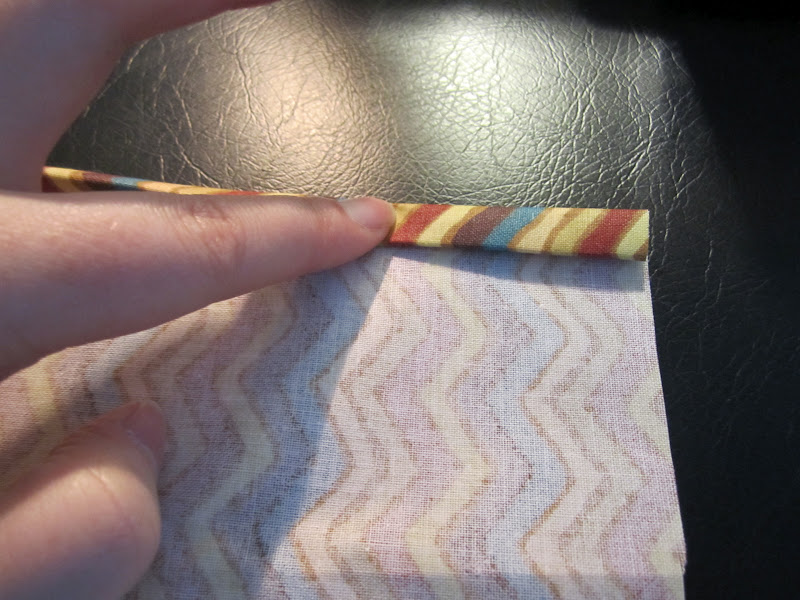
Then, I pinned the two inside pieces to the larger outside piece. This was pinned right side to right side so that it would turn inside out correctly.
Now to finish the seam for the spine. I simply folded it down and pinned it at the top and the bottom then sewed them down.
Estimated time for this project: about 1 hour, perhaps a little more for the sewing of the button and the yarn.
For this project, I used approx. 1/2 m canvas-weight fabric, 1 spool matching heavy-duty thread, 1 button, 18 inches of matching yarn, a sewing machine, a hand-sewing needle, a measuring tape, a dressmarkers pen, pins and scissors.
First, I measured my scrapbook binder. This is a simple 1-inch binder with plastic page protectors.
I measured length (21 inches)...
And I measured height (11.5 inches).
I used those measurements on the wrong side of my fabric and marked them three times from the top to the bottom with a dressmakers pen. I allowed about 0.5 cm on both sides for seam allowance. I cut out a piece that was 22 inches wide by 12.5 inches tall.
Then I measured the inside of the binder (9 inches).
I marked this on the fabric and cut out a piece that was 9 inches wide by 12.5 inches tall for the inside.
I had three pieces...
Sidenote: I have to mention these AWESOME coconut shell buttons that I found into Wal-mart...
So, the finished product will look like this on the inside. First thing to do is sew down the facing edge of the two inside pieces.
I did a double seam...
Then, I pinned the two inside pieces to the larger outside piece. This was pinned right side to right side so that it would turn inside out correctly.
Then I turned it inside out...
voila!
Now to finish the seam for the spine. I simply folded it down and pinned it at the top and the bottom then sewed them down.
Here it is, almost done!
Now for the button. I sewed it on the front...
And I hand-sewed the centre of the 18-inch string of brown yarn to the back.
I then wrapped the two strands of yarn around the button on the other side of the binder three times.
I pulled the yarn back and tied a knot where I was going to cut it.
I tied three knots to keep it strong.
Then I cut off the excess. Done!
Estimated time for this project: about 1 hour, perhaps a little more for the sewing of the button and the yarn.
Subscribe to:
Posts (Atom)