First, take the back of the apron and serge (or zipper-stitch) all of the edges.

Next, pin down the chest (not folded under) and sew down. Pin down each side and sew down, then do the same with the edges. Now the entire back has become an apron with clean sewn-down edges:

Next, take the button strip and serge (or zipper-stitch) down the edge with a sewing machine. Fold the seam allowance over onto the button strip and pin down. Sew down.

Pin the new neck strap to the top of the apron on the wrong side (the side you don't want people to see with all of the serged or zigzagged edges) on the far left and far right sides then zigzag into place, backstitching many times.

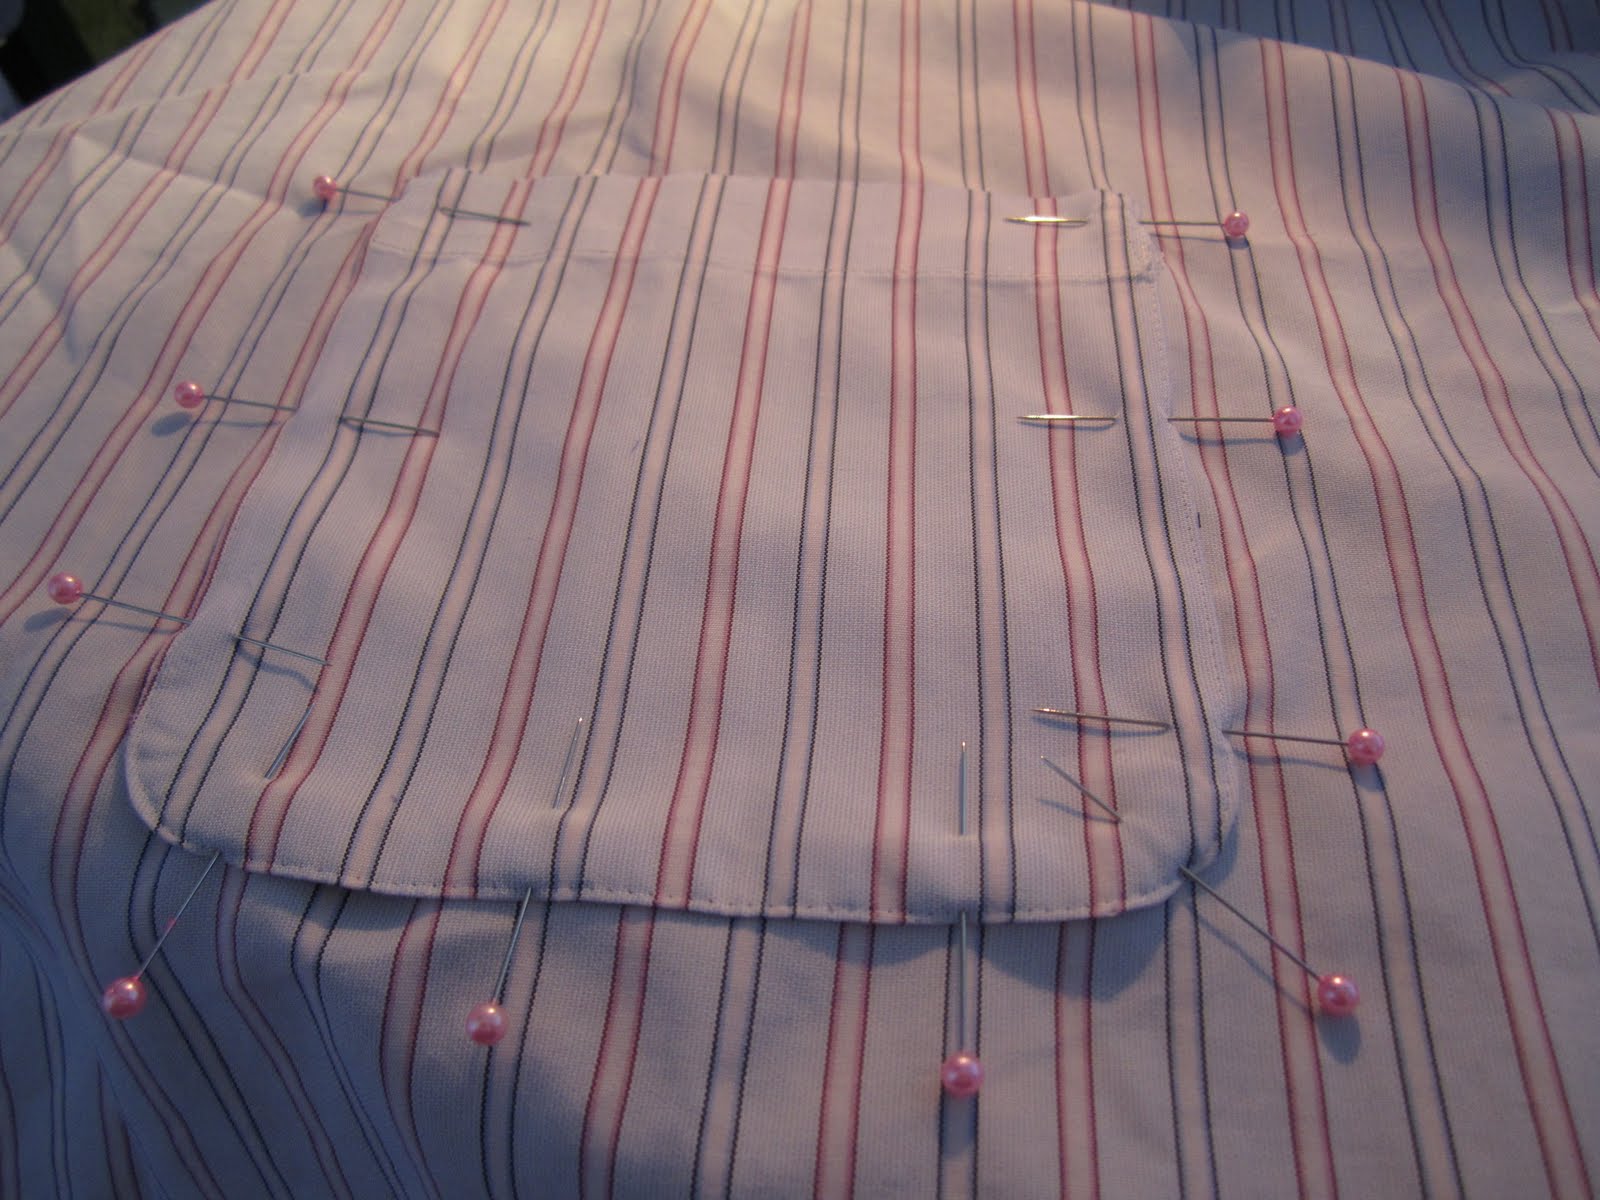
Now, take the pocket from the front of the shirt. On the right side of the apron (the clean side that you want people to see), pin the pocket into place. What I did is i looked for the fold (as I had folded this apron in half) and then centred the pocket over the fold. Sew the pocket to the apron front.
Last, we have the two waist straps. You can iron these and fold in the sides about 2cm like double bias tape but what I did is I folded and pinned at the same time. This is more difficult of course, I highly recommend ironing. Essentially, you need to fold the edges under about 2cm on both sides then pin the two sides together like so:

And so:

Fold the waist straps as so and pin down. When you reach the edge it becomes more difficult as you need to fold the sides and the end under and then pin. Once it is pinned down, sew on the far edge of the pins so that the stitches are not noticeable.

Last, pin and sew the waist ties onto the wrong side (side with the serged edges) of the apron, backstitching many times:

Here is your finished product!

Estimated time for this project: about 25 minutes to cut out the pieces and 1 hour to sew together (1h25 minutes).
Notes:
- This apron is rather large and I find that it fits my husband much better than myself so a more feminine version will be coming.
- I didn't iron anything when I made this apron so it was wrinkly. Ironing certainly helps.
- The position of the pocket is not fixed. You can put it wherever you want or not use it all together.
- I don't have a serger so I used the zipper-stitch on my sewing machine. I have washed the aprons a few times and did not notice any fraying.
Ideas:
- What about using thread in a contrasting color?
I find the zipper stitch holds up quite well anyway, though having a serger certainly would be AWESOME!!
ReplyDeleteThank you very much for sharing this tutorial. I'm going to try this with one of my husband's old shirts.
ReplyDelete