For this project, I used approx. 1/2 m canvas-weight fabric, 1 spool matching heavy-duty thread, 1 button, 18 inches of matching yarn, a sewing machine, a hand-sewing needle, a measuring tape, a dressmarkers pen, pins and scissors.
First, I measured my scrapbook binder. This is a simple 1-inch binder with plastic page protectors.
I measured length (21 inches)...
And I measured height (11.5 inches).
I used those measurements on the wrong side of my fabric and marked them three times from the top to the bottom with a dressmakers pen. I allowed about 0.5 cm on both sides for seam allowance. I cut out a piece that was 22 inches wide by 12.5 inches tall.
Then I measured the inside of the binder (9 inches).
I marked this on the fabric and cut out a piece that was 9 inches wide by 12.5 inches tall for the inside.
I had three pieces...
Sidenote: I have to mention these AWESOME coconut shell buttons that I found into Wal-mart...
So, the finished product will look like this on the inside. First thing to do is sew down the facing edge of the two inside pieces.
I did a double seam...
Then, I pinned the two inside pieces to the larger outside piece. This was pinned right side to right side so that it would turn inside out correctly.
Then I turned it inside out...
voila!
Now to finish the seam for the spine. I simply folded it down and pinned it at the top and the bottom then sewed them down.
Here it is, almost done!
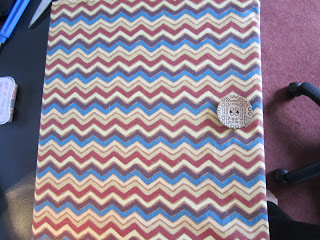
Now for the button. I sewed it on the front...
And I hand-sewed the centre of the 18-inch string of brown yarn to the back.
I then wrapped the two strands of yarn around the button on the other side of the binder three times.
I pulled the yarn back and tied a knot where I was going to cut it.
I tied three knots to keep it strong.
Then I cut off the excess. Done!
Estimated time for this project: about 1 hour, perhaps a little more for the sewing of the button and the yarn.


Thank you for posting this!
ReplyDelete